
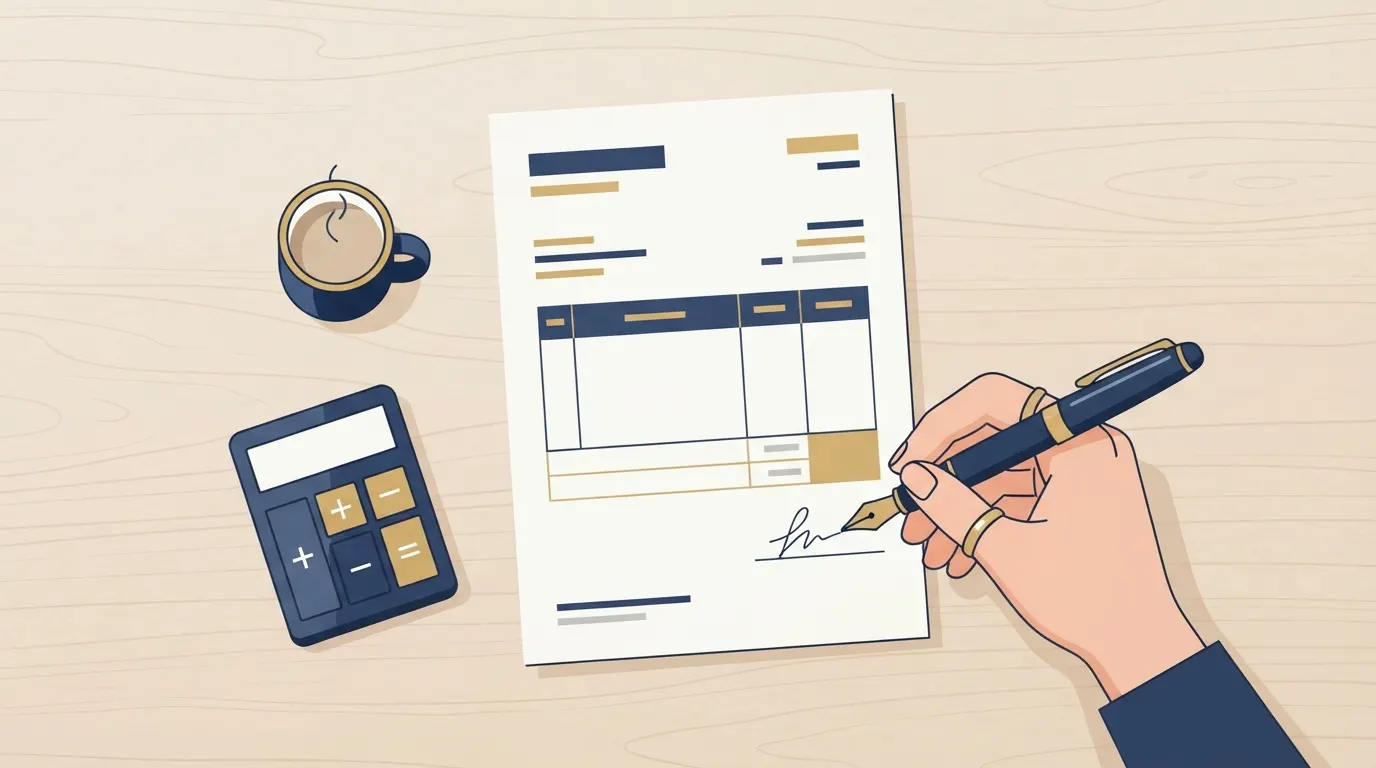
How to write an invoice
Knowing how to write an invoice properly is what actually gets you paid on time, and it’s simpler than most people expect once you know what belongs on it. A surprising number of payment delays happen because an invoice is missing a due date, an invoice number, or a clear breakdown of what’s owed, not because the client is being difficult.
Whether you’re sending your first invoice as a freelancer or you’ve been billing clients for years, having a consistent format makes the whole process faster for you and easier for your client to approve.
This invoice writing guide walks through exactly what to include and how to put it together, step by step.
What to include on every invoice
Before you start filling anything in, it helps to know what a complete invoice actually needs. At minimum, every invoice should have:
- Your business name and contact details
- Your client’s name and contact details
- A unique invoice number
- The invoice date and payment due date
- An itemized list of goods or services provided
- The subtotal, any tax or discounts, and the total amount due
- Your accepted payment methods and terms
Once you have these seven pieces in place, the rest is just formatting.
Step 1: Add your business details
Start at the top with your business name, address, phone number, and email. If you’re a sole trader or freelancer without a registered business name, your full name works fine. Adding a logo isn’t required, but it does make the document look more polished and helps clients recognize who it’s from at a glance.
Make sure the contact details you list are ones you actually check. It sounds obvious, but an invoice with a stale email address is one of the quieter reasons payments get delayed.
Step 2: Add client details
Directly below your own information, list who you’re billing. Include their name or company name, billing address, and the correct contact person if you’re invoicing a larger organization. If a client has given you specific instructions, like a dedicated accounts payable email, follow them exactly. Getting this wrong is a common way invoices end up sitting in the wrong inbox for weeks.
Step 3: Invoice number and dates
Every invoice needs a unique number so both you and your client can track it. You don’t need anything complicated. Sequential numbering like 001, 002, 003 works fine, or you can tie it to the date and client, such as 2026-08-Smith. Whatever system you pick, stick with it consistently.
Alongside the invoice number, include two dates: the date you issued the invoice and the date payment is due. If you use standard terms like Net 15 or Net 30, calculate the due date from the invoice date rather than leaving it vague.
Step 4: Itemize the work
This is the section clients read most closely, so clarity matters more here than anywhere else on the page. List each product or service on its own line, along with the quantity, rate, and line total. If you billed by the hour, show the hours worked and your hourly rate rather than just a lump sum.
Vague descriptions like “consulting work” invite questions and slow down payment. Specific line items like “Website copy revisions, 3 hours” tell the client exactly what they’re paying for and cut down on back-and-forth emails.
Add up the line items into a subtotal before moving on to tax and totals.
Step 5: Tax, discounts, and total due
Below the itemized list, add any applicable tax, along with any discounts you’re offering. Then calculate the final total due. This number should be impossible to miss, so give it its own line and make it visually distinct from the rest of the invoice, usually with bold text or a larger font size.
If you’re not required to collect tax, it’s still worth stating that clearly rather than leaving the line blank, so there’s no ambiguity about why no tax appears.
Step 6: Payment terms and methods
State how you’d like to be paid: bank transfer, card, PayPal, check, or whatever methods you accept. Include any account details or payment links the client needs to actually complete the transaction.
This is also the place to note late fees or early payment discounts if you use them. A simple line like “A 2% late fee applies after 30 days” sets expectations upfront and gives you something to point back to if a payment runs late.
Step 7: Send it
Once the invoice is complete, save it as a PDF so the formatting stays intact no matter what device your client opens it on. If you’re emailing it, use a clear subject line such as “Invoice #045 for [Project Name]” and keep the email body short: a quick thank you, the amount due, and the due date is enough.
Send the invoice promptly after finishing the work or on whatever billing schedule you’ve agreed with the client. The longer you wait, the easier it is for the request to lose priority in someone else’s inbox.
Tips for getting paid faster
A well-formatted invoice gets you most of the way there, but a few habits make a real difference in how quickly clients actually pay:
- Send the invoice immediately after finishing the work, not weeks later
- Keep payment terms short (Net 15 tends to get paid faster than Net 30)
- Offer more than one payment method so clients can use whichever is easiest for them
- Set a calendar reminder to follow up a few days before the due date, not after
- Consider a small early payment discount for clients who pay within a few days
None of these require changing how you write the invoice itself, just how you manage it after it’s sent.
Common mistakes to avoid
A few small errors account for most invoice-related payment delays:
- Leaving out the invoice number or due date
- Vague line-item descriptions that raise questions
- Sending invoices to the wrong contact or department
- Inconsistent numbering that makes tracking difficult
- Burying the total due instead of making it prominent
Avoiding these is mostly a matter of using the same checklist every time, which is exactly what a template is for.
Make it easier with a free invoice generator
Writing an invoice from scratch works, but it’s slower than it needs to be. A free online invoice generator fills in the structure for you, so you just add your details, line items, and totals, then download a polished PDF in a couple of minutes. No account, no watermark, no spreadsheet formulas to fix.
Our Free Invoice Generator Tools: Invoice Generator